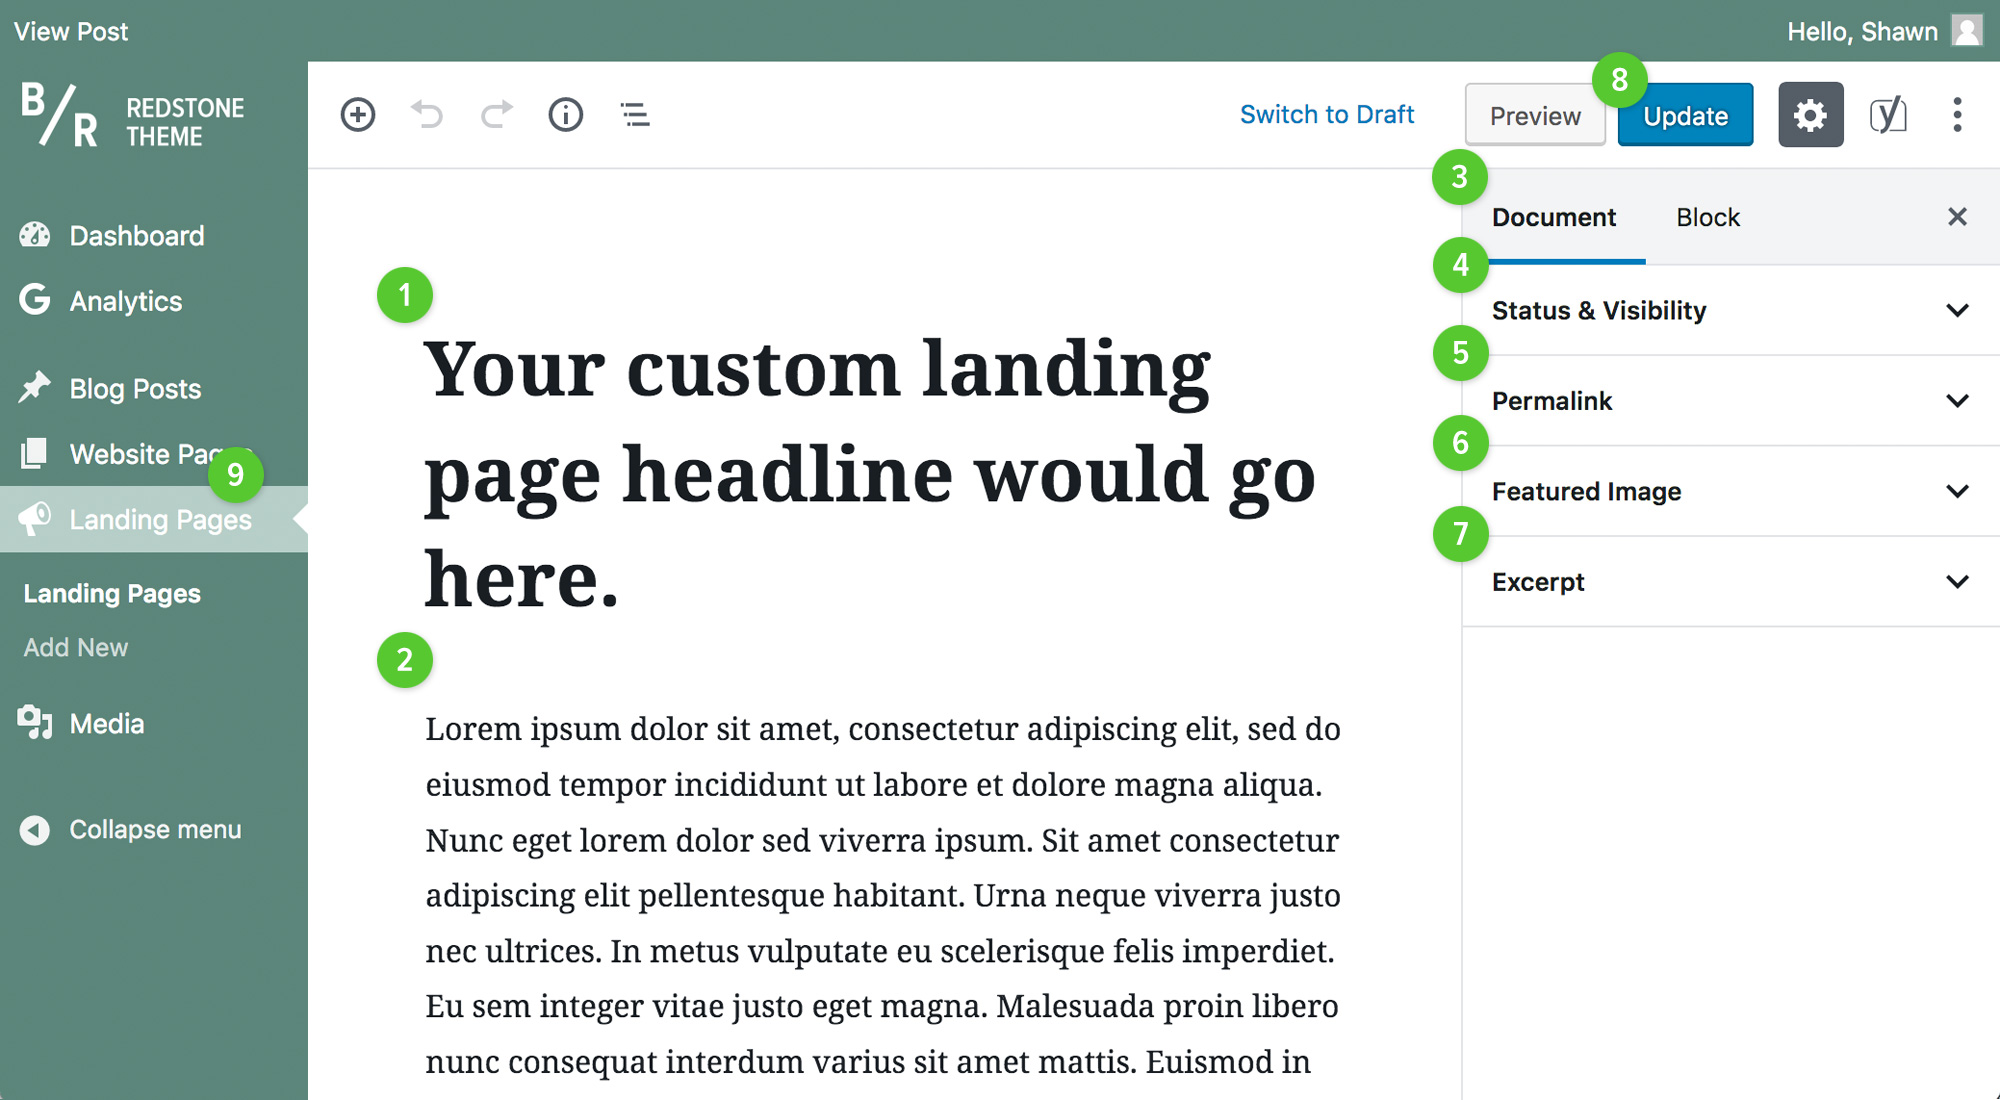
These pages can be filled with content and imagery of your choosing, and can be created at any time. You can use these landing pages to share and promote your business or brand through email or on social media.

1. Click the Add New link in the Landing Pages sub-menu of the Admin area
2. Enter your Landing Page Headline and Landing Page Content
3. Enter your pages's Excerpt and upload your page's Featured Image (optional)
4. Click the Publish button to create your landing page
5. View your landing page by visiting the Permalink
1. Click the All Pages link in the Landing Pages sub-menu of the Admin area
2. Mouseover the landing page you want to change and click the Edit button
3. Make the required changes to your landing page's headline, content or settings
4. Click the Preview button to preview your changes
5. Click the Publish button to save your changes
1. Click the All Pages link in the Landing Pages sub-menu of the Admin area
2. Mouseover the landing page you want to delete and click the Trash button
3. Confirm your choice in pop up that appears
Brand Colours
You can use the colours shown below when creating your custom posts and pages, as they are used elswehere in your site and will allow for greater brand cohesion.
Header Styles
You can use the Following header styles within your blog posts and custom pages by creating a header block in your page or post content and choosing your preferred style.
This is the H2 header style.
This is the H3 header style.
This is the H4 header style.
Tables
Below is table. You can insert tables into your posts and pages from within your website dashboard.
| Table Head One | Table Head Two | Table Head Three |
| Nisi vitae suscipit tellus mauris a diam. | Nisi vitae suscipit tellus mauris a diam. | Nisi vitae suscipit tellus mauris a diam. |
| Nisi vitae suscipit tellus mauris a diam. | Nisi vitae suscipit tellus mauris a diam. | Nisi vitae suscipit tellus mauris a diam. |
Lists
Below is an unordered list. You can insert ordered and unordered lists into your posts and pages from within your website dashboard.
- List item to come here
- List item to come here
- List item to come here
- List item to come here
- List item to come here

